Peach Dump Cake Recipe: Fresh, Canned, Frozen – Your Choice!
Imagine a dessert that delivers a warm, comforting hug with every single bite, yet demands minimal effort and time in the kitchen. That, my friends, is the magic of easy peach dump cake. This beloved classic is a testament to simple ingredients coming together to create something truly extraordinary. Whether you're a seasoned baker or a kitchen novice, the peach dump cake promises a fuss-free experience, culminating in a deliciously sweet, buttery, and tender dessert. The best part? You're in charge of your peach destiny – fresh, canned, or frozen, this recipe adapts to your pantry and preference, ensuring a delightful treat is always within reach.Why Peach Dump Cake is Your New Favorite Dessert
The allure of peach dump cake lies in its sheer simplicity and irresistible charm. It's often hailed as one of those "magical" recipes because it requires little more than "dumping" a few ingredients into a baking dish and letting your oven do the heavy lifting. Forget about separating eggs, sifting flour, or elaborate mixing; this dessert is egg-free, fuss-free, and incredibly forgiving. It shares a similar comforting vibe and delectable texture with a traditional peach cobbler, but streamlines the process dramatically, making it the perfect solution for busy weeknights, impromptu gatherings, or simply when a craving for something sweet strikes. In fact, many argue that the peach dump cake offers the same satisfaction as a cobbler, but in a significantly easier and quicker package. It’s also remarkably budget-friendly, making it a fantastic go-to for feeding a crowd without breaking the bank.Mastering the Perfect Peach Dump Cake: Ingredients & Method
At its core, a perfect peach dump cake relies on just a handful of ingredients, each playing a crucial role in creating that signature moist, buttery, and fruit-filled experience.The Core Ingredients:
You'll typically need just three to five key items:
- Peaches: The star of the show. Your options are fresh, canned, or frozen. We'll delve into the nuances of each below.
- Cake Mix: A standard box of yellow or white cake mix is the traditional choice, providing the foundational buttery flavor and tender crumb.
- Butter: Crucial for richness and moisture, transforming the dry cake mix into a delectable topping.
- (Optional) Spices/Flavorings: A dash of cinnamon, nutmeg, or vanilla extract can elevate the peach flavor.
- (Optional) Toppings: Ice cream, whipped cream, or nuts are fantastic additions for serving.
The Critical Peach Choice: Canned, Fresh, or Frozen?
While the title promises flexibility, understanding how each peach type influences the recipe is key to success, primarily due to their liquid content.
- Canned Peaches (The Easiest & Most Recommended):
- Why they're great: Canned peaches are pre-sliced, often pre-sweetened, and come packed in their own syrupy liquid, which is absolutely vital for hydrating the dry cake mix and preventing dry pockets. They deliver consistent results every time.
- Key Tip: Do NOT drain the canned peaches! Pour the entire can (or cans, depending on the recipe's volume) along with their liquid into the baking dish. This liquid is what moistens the cake mix and creates that luscious, cobbler-like texture.
- Fresh Peaches (For Garden-Fresh Flavor):
- Preparation: If using fresh peaches, you'll need to peel, pit, and slice them. About 4-6 medium peaches usually suffice for a 9x13 inch pan.
- The Liquid Factor: Fresh peaches don't come with their own syrupy liquid like canned ones. To compensate, you'll need to add moisture. A common method is to toss the sliced peaches with 1/2 to 3/4 cup of sugar (depending on peach sweetness) and a few tablespoons of water, peach juice, or even a splash of orange juice. Let them sit for 10-15 minutes to release their own juices, or simply add a generous splash of liquid directly into the pan with the peaches. A teaspoon of lemon juice can also brighten the flavor.
- Flavor Boost: Consider tossing fresh peaches with a teaspoon of cinnamon or a pinch of nutmeg to enhance their natural sweetness.
- Frozen Peaches (Convenience Meets Freshness):
- To Thaw or Not to Thaw: You can often use frozen peaches directly from the bag without thawing. As they bake, they will release their own liquid, which contributes to the moisture.
- Liquid Adjustment: If baking from frozen, you might find they release *more* water than ideal. To counter this, some bakers toss them with a tablespoon of cornstarch before adding to the pan to thicken the juices. Alternatively, if you thaw them, you might need to drain *some* of the excess water if they become too watery, then add a little sugar or juice as you would for fresh peaches to ensure enough sweet liquid.
- Best Practice: For optimal results, partially thaw frozen peaches and toss them with a few tablespoons of sugar and a little extra liquid (like a splash of water or peach nectar) if they seem dry, ensuring there’s enough moisture for the cake mix.
Step-by-Step Assembly (Ready in Under an Hour!):
Once you’ve decided on your peaches, the rest is truly a breeze.
- Prepare Your Pan & Oven: Preheat your oven to 350°F (175°C). Lightly grease a 9"x13" baking dish. This ensures easy cleanup and prevents sticking.
- Create the Peach Layer: Spread your chosen peaches evenly across the bottom of the prepared baking dish. Remember: if using canned, include all the liquid! If using fresh or frozen, ensure you've added sufficient supplemental liquid/sugar as discussed above.
- Add the Cake Layer: Evenly sprinkle the dry cake mix over the peach layer. Try to get a consistent layer across the entire pan, leaving no large bare spots of peach.
- Dot with Butter: Slice cold butter into thin pats or small cubes. Arrange these butter pieces evenly over the top of the dry cake mix. This is crucial! Using unmelted butter pats helps to melt slowly, saturating the cake mix evenly and preventing dry, powdery pockets, yielding a perfectly moist cake.
- Bake to Golden Perfection: Place the dish in the preheated oven and bake for 40-45 minutes, or until the top is golden brown, bubbly around the edges, and the cake feels slightly firm when gently touched.
- Cool & Serve: Allow the peach dump cake to cool for 15-20 minutes before serving. This cooling time allows the molten fruit and cake to set slightly, making it easier to scoop and enjoy.
Unleashing Your Creativity: Variations & Serving Suggestions
While classic peach dump cake is a delight on its own, it’s also a fantastic canvas for culinary creativity.Flavor Enhancements & Variations:
- Spiced Sensation: Swap out the yellow cake mix for a butter pecan or spiced cake mix. This adds an extra dimension of warmth and richness, especially cozy for cooler months.
- Caramel Dream: Drizzle some caramel sauce over the peaches before adding the cake mix, or warm it up and drizzle over individual servings after baking.
- Nutty Crunch: Sprinkle 1/2 cup of chopped walnuts or pecans over the dry cake mix before adding the butter. This provides a lovely texture contrast and nutty flavor.
- Berry Boost: For a vibrant twist, add a cup of fresh or frozen raspberries, blueberries, or blackberries along with your peaches.
- Extracts: A teaspoon of vanilla extract added to the peaches (especially fresh ones) can deepen the flavor profile. Almond extract is also a surprisingly delicious addition that complements peaches beautifully.
Serving Suggestions:
The beauty of peach dump cake is that it's utterly delicious on its own, but it truly shines when paired with a few classic accompaniments:
- Vanilla Ice Cream: The quintessential pairing! A scoop of cold, creamy vanilla ice cream melting over the warm cake is pure bliss.
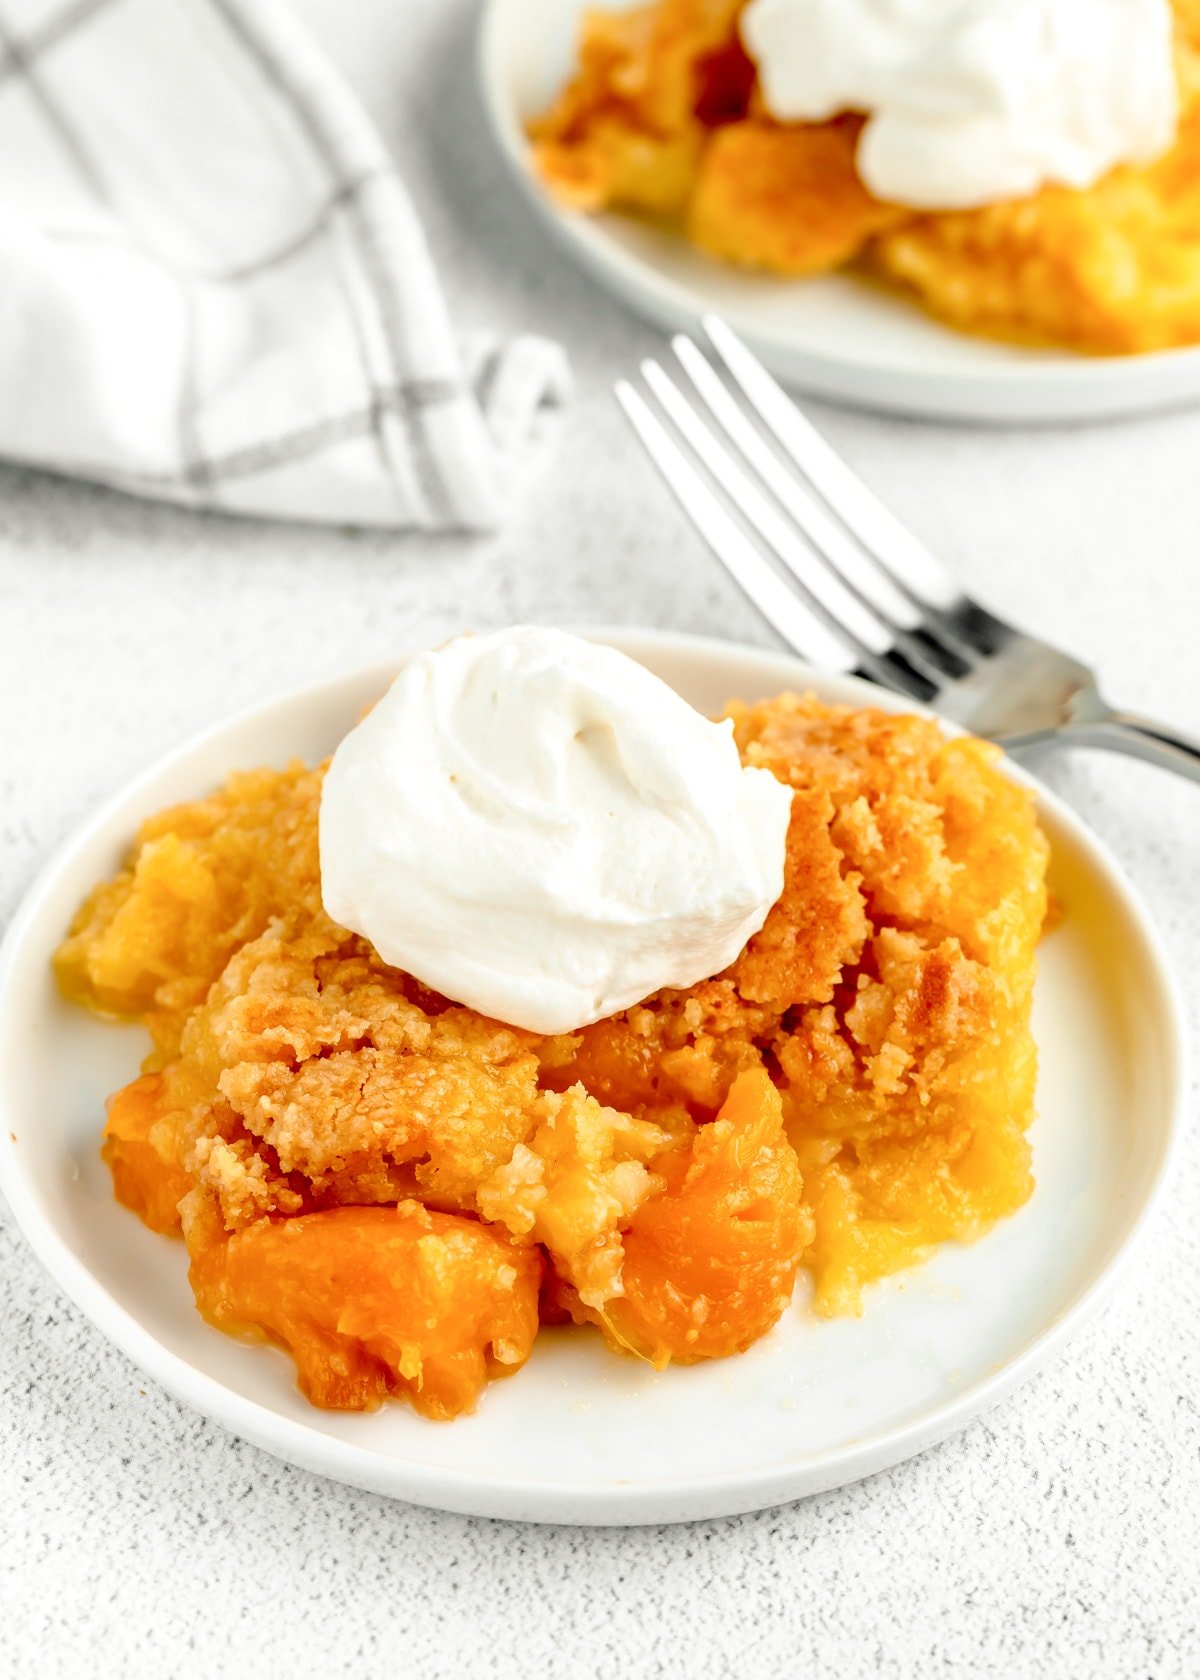
- Whipped Cream: A generous dollop of freshly whipped cream adds a light, airy contrast.
- Custard or Crème Anglaise: For an elevated dessert experience, serve with a warm, pourable vanilla custard.
- A Simple Dusting: Sometimes, just a light dusting of powdered sugar or a sprinkle of cinnamon is all you need.
Expert Tips for Dump Cake Perfection
- Don't Stir: Resist the urge to stir the layers once assembled. The "dump" method relies on the ingredients baking and melding together naturally.
- Even Butter Distribution: This is key to avoiding dry spots. Take your time to cover the cake mix as evenly as possible with butter pats.
- Patience for Cooling: While tempting to dig in immediately, allowing the cake to cool for 15-20 minutes lets the fruit juices thicken and the cake set, resulting in a cleaner scoop and richer flavor.
- Storage: Leftover peach dump cake can be stored covered at room temperature for a day or two, or in the refrigerator for up to 3-4 days.
- Reheating: Warm individual servings in the microwave for 30-60 seconds, or reheat the entire pan loosely covered in a 300°F (150°C) oven until warmed through.
